Hexo + Github Personal Website Buildup
Translated by ChatGPT
As the first post, let’s talk about how this website was made. I’ve wanted to create a personal website for a long time, but I gave up on the idea due to not knowing too much about it. Otherwise, I would have to start learning some strange JavaScript and CSS related stuff from scratch, which would be too torturous for me. However, while chatting yesterday, a friend mentioned, “Don’t you guys have something like a personal portfolio?” I realized I didn’t, but then I suddenly thought about personal websites again. Remembering that professors during my undergraduate days had their own websites, I searched for content related to “personal website creation” again. Surprisingly, there were ready-to-use libraries available, like Hexo, even equipped with various themes. Times have changed, and now everything has become so easy, everything can be generated with one click.
Thank you, open-source hero.
First Step: Configuring Github
The reason for using Github is simple; for individual users, it provides a free user page, which can perfectly serve as a personal webpage.
Registering on Github
This step is omitted,many tutorial can be found online.
Generating id_rsa and id_rsa.pub locally
Open a CMD terminal (or Windows PowerShell is recommended), and enter the following commands in sequence
git config --global user.name "Github username"
git config --global user.email "Github email address"
ssh-keygen -t rsa -C "Github email address"For example, if my GitHub username is zcpisme, using zcpisme@uchicago.edu (an email I made up), then you would enter in the CMD:
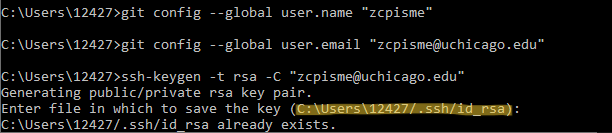
git config --global user.name "zcpisme"
git config --global user.email "zcpisme@uchicago.edu"
ssh-keygen -t rsa -C " zcpisme@uchicago.edu"
Press Enter, and if prompted with y/n, type y and press Enter again
The result is as shown in the image
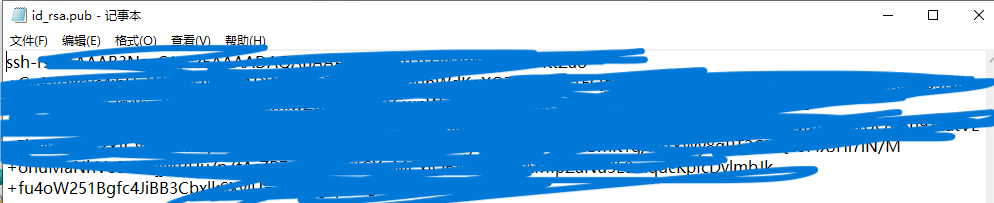
Open the generated id_rsa.pub with Notepad and copy its contents (located on my computer at C:\Users\12427.ssh)
Linking Github Account
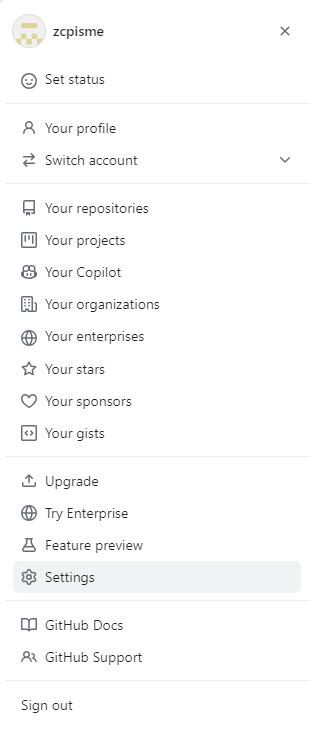
Navigate to your GitHub account —> Settings —> SSH and GPG keys — new SSH key


For the title, you can choose any name (your email is recommended), and paste the content from the id_rsa.pub you copied earlier into the key section.
With this, the connection to Github is complete.
Create a Repository Named username.github.io
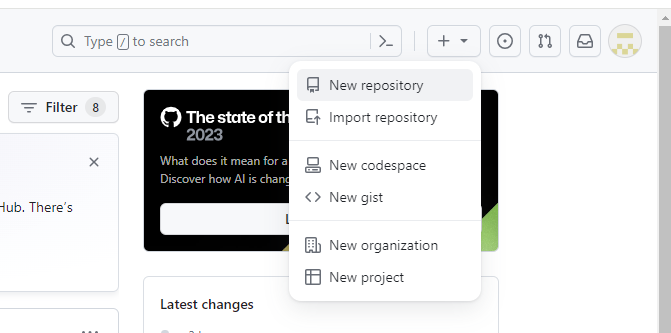
At the top right corner, click on the plus sign and select New repository
For the repository name, enter “yourusername.github.io” !!! Important: It must be your username followed by .github.io, and each person can only have one such repository, which must be set to public, then click create repository at the bottom
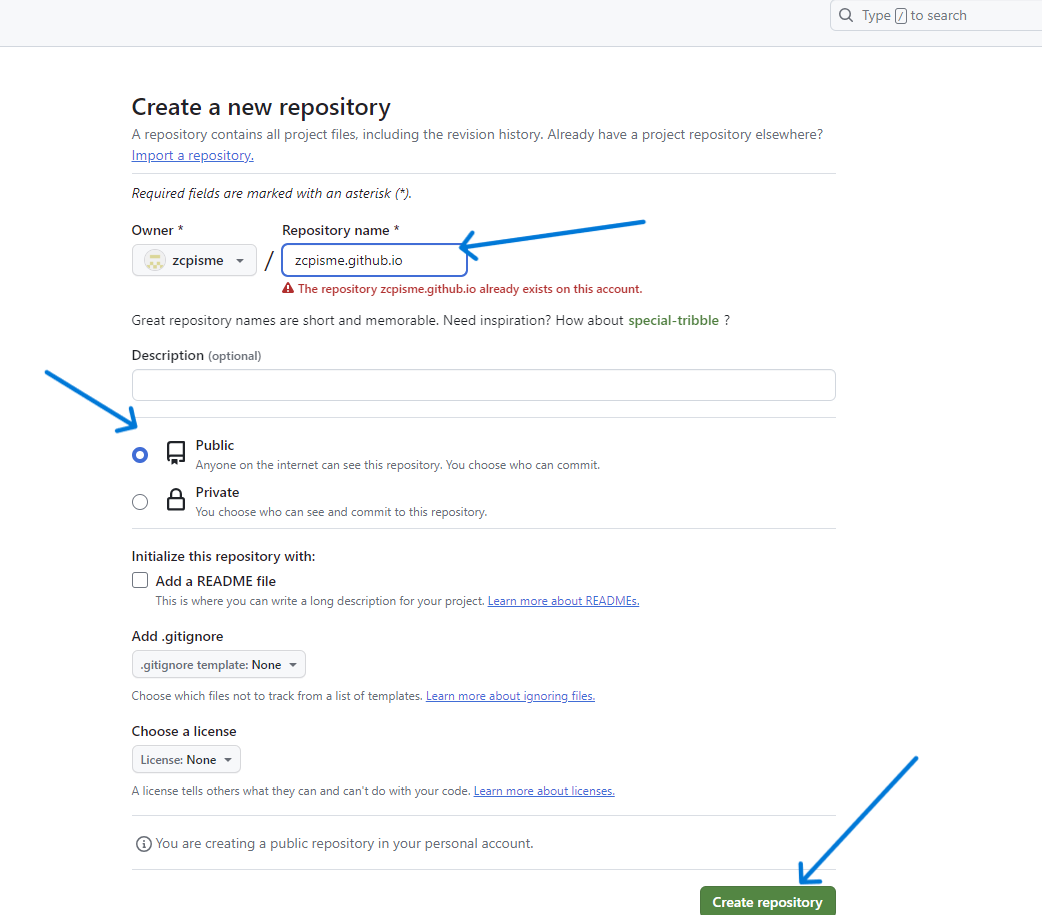
With this, the GitHub setup is complete.
Step 1.5: Having Node.js
Some might complain, “Ah, zcp, why are you being so verbose?” I say, hold on, my goal is to provide step-by-step instructions, and I also fear that I might forget how to start from scratch and organize tutorials from the web later, so being verbose is better. But for this part, it’s just to inform everyone that it exists and won’t be elaborated on here.
Node.js is a JavaScript runtime environment, and our subsequent configurations will rely on it.
For installation tutorials, refer to:
https://www.runoob.com/nodejs/nodejs-install-setup.html
Basically, just download and install the MSI image file.
After installation, you can check if it was successful by entering in cmd:
npm -v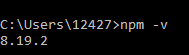
Step 2: Your First Hexo Personal Webpage
Here we go! With the above configurations, everything that follows becomes foolproof. You neither have to hand-code the webpage yourself nor need any programming knowledge.
After the previous step, we can use npm to manage packages in node.js.
Installing Hexo
Enter the following command:
npm install hexo-cli -gInitializing Hexo
For example, if I want to create a folder called myFirstBlog in D:\desktop\campus\personalBlog to manage my webpage, enter this folder in cmd:

Enter:
hexo init myFirstBlogAs you can see, myFirstBlog has been created.

Launching Your Personal Website
Start the server in the folder you just created:
hexo s
You can also specify a port with hexo -s -p 4001 for debugging multiple sites (the default port is 4000).
Copy http://localhost:4000/ into your browser, and you can (locally) preview your site.
Congratulations! You now have your own website!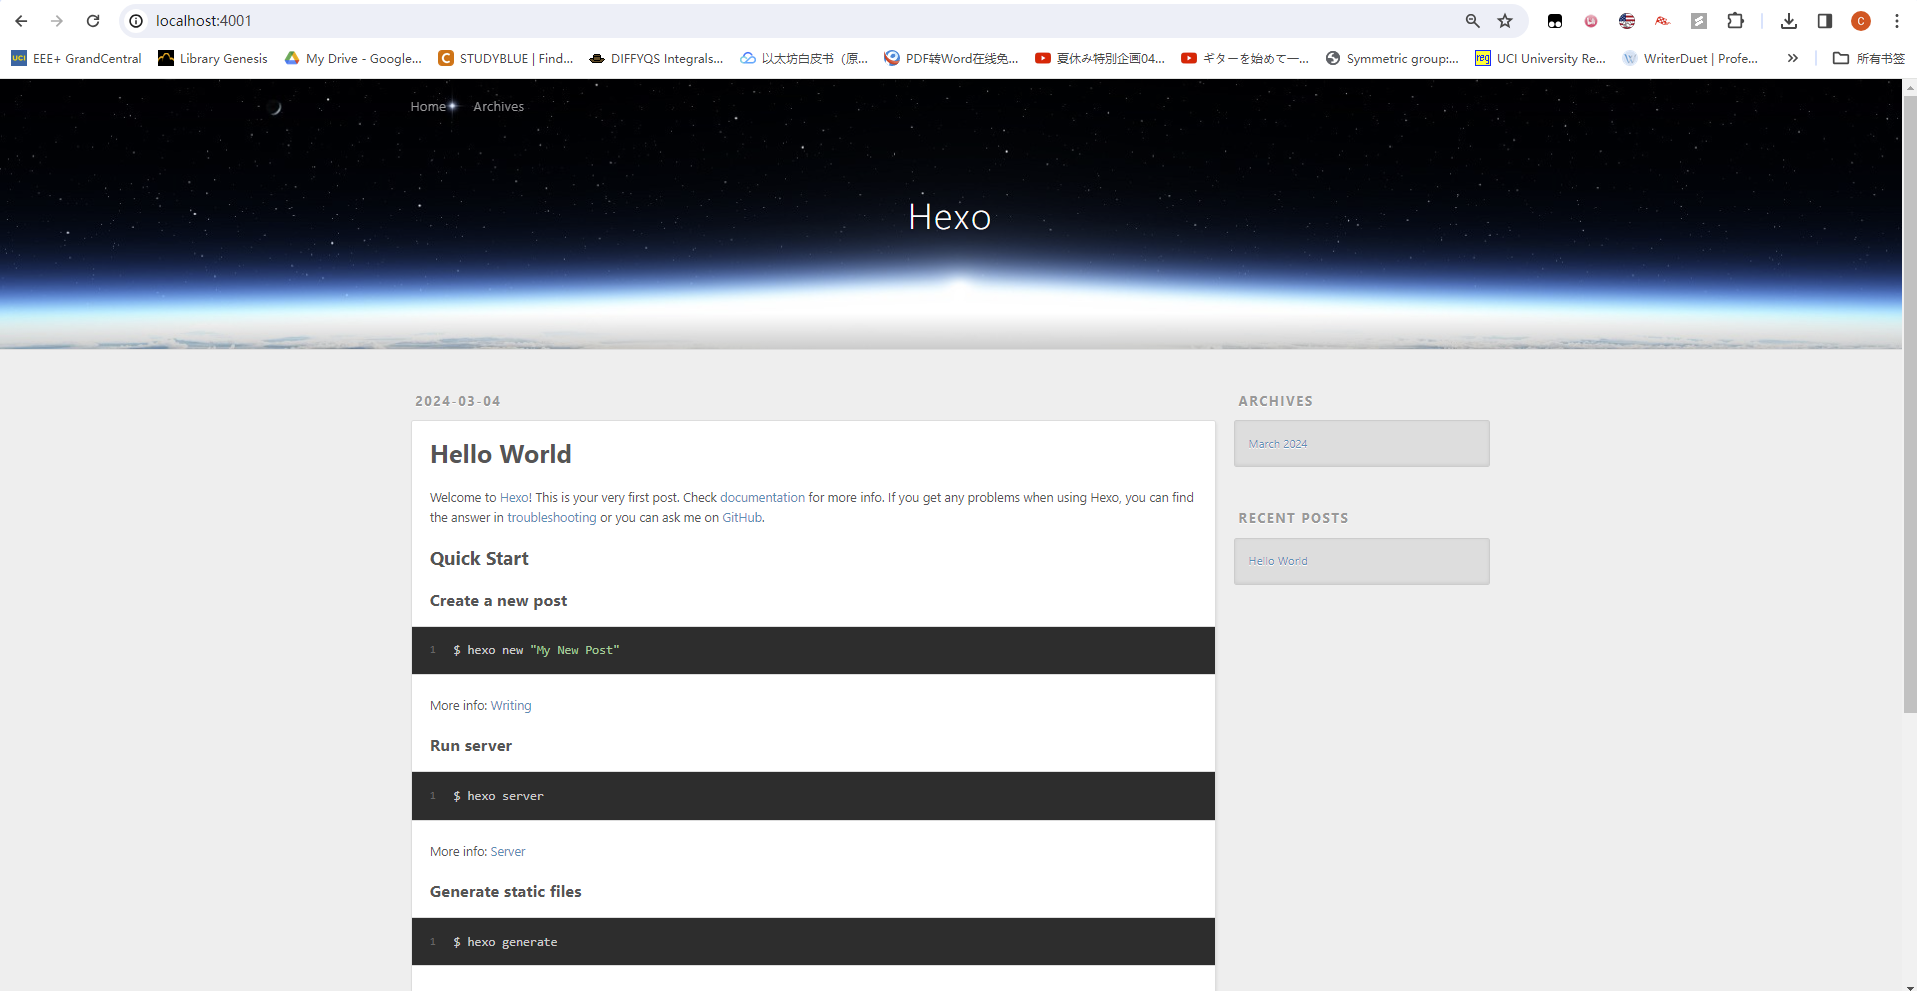
Step 3: Hold on a Moment (Publishing to Github)
Of course, we can’t limit ourselves to local previews. We need to publish our webpage to the public internet so that everyone can view it. To do this, follow the configuration steps below.
Configuring the _config.yml File
In the myFirstBlog folder created earlier, there is a file named _config.yml. Open this file with Notepad. Scroll to the very bottom to the #Deployment section, set type to git, repo to the URL of your initial repository followed by .git, and branch to master. For example:
# Deployment
## Docs: https://hexo.io/docs/one-command-deployment
deploy:
  type: git
  repo: https://github.com/zcpisme/zcpisme.github.io.git
  branch: master
Publishing
The last step, in the cmd (still inside the myFirstBlog folder), enter
hexo clean
hexo g
hexo d
Wait for the files to upload to GitHub. After a few minutes, username.github.io will be your personal webpage!

Isn’t it as easy as ABC~
Common Hexo Commands
hexo init [folder] # Initialize hexo
hexo new [layout] <title> # Create a new post, all posts need to be in markdown (.md) format, by default located in ./source/_post folder
hexo generate # Generate static files, same as hexo g
hexo server # Start local server, same as hexo s
hexo deploy # Deploy website, same as hexo d
Tips
In personal use, changing and deploying repeatedly, entering commands one by one can be cumbersome (and you might even miss a step). So, you can create a sh script, and run it each time.
For example, inside the myFirstBlog folder, create a new Notepad document, enter
#!/bin/bash

# Stop script on any error
set -e

# Navigate to the Hexo project directory (if not already there)

# Clean the public directory
echo "Cleaning..."
hexo clean

# Generate static files
echo "Generating..."
hexo generate

# Deploy to the server
echo "Deploying..."
hexo deploy

echo "Deployment successful!"

echo "Press enter to close"
read -r
Rename the file to deploy.sh, before deploying enter
./deploy.shStep ?: Wait a Bit Longer (Optional)
Perhaps some friends are very excited to open the webpage and admire it. Then, they find the webpage design so monotonous, secretly cursing: “This is cheating, cheap goods are not good.” I sneezed twice in front of the screen and said, hold on, again.
Of course, that’s not the case. The real fun part is coming. There are so many people in the world who contribute out of passion, leading to a wide variety of themes available for Hexo to choose from.
Here at Hexo Themes you can pick a theme to your liking, from simple styles to elaborate designs. Currently, NexT is popular for its simplicity and extensive customization plugins. Here, we’ll choose hexo-theme-matery, a very beautiful theme. Again, thanks to the open-source heroes, and thank you Blinkfox.
After choosing a theme, download the source files (git clone) and copy the downloaded files to the themes folder under myFirstBlog.
Similarly, in the _config.yml configuration file, change the theme to the name of the folder you just downloaded, for example,
# Extensions
## Plugins: https://hexo.io/plugins/
## Themes: https://hexo.io/themes/
theme: hexo-theme-matery
Publish again, and you can see the webpage theme has become fancier. Usually, each theme has its own detailed documentation.
Conclusion of This Article
Exploring an unknown thing is joyful, and there is immense pleasure in the heart when succeeding after repeated trials and errors.
Thank you for reading my first article, please be forgiving, and suggestions are welcome!
In the next article, we will talk about some additional settings I have for the matery theme.